Car headlight cleaning is essential for a safe driving experience. Over time, dirt, dust, and various environmental factors can cause yellowing and dulling of car headlights. This significantly reduces the light efficiency of the headlights and decreases visibility during nighttime driving. Therefore, regularly cleaning car headlights is crucial for maintaining your vehicle's aesthetic appearance and enhancing safety. In this article, we will cover all aspects of cleaning yellowed headlights, including methods you can apply at home, professional techniques, common mistakes, and their solutions.
Materials Needed for Car Headlight Cleaning
The materials needed for car headlight cleaning ensure that the process is done effectively. The essential materials include a quality car wash mitt, water, soap, microfiber cloths, sandpaper (optional in different grits), a headlight cleaning kit or polishing compound, and finally, a protective wax or sealant. Using a car wash mitt helps clean dirt and dust more effectively from the headlight surface and minimizes the formation of micro-scratches. Before starting the cleaning process, make sure all the materials are within reach.
The Importance of Headlight Cleaning
Headlight cleaning not only improves the appearance of your vehicle but also significantly enhances nighttime driving safety. Yellowed and dull headlights reduce the light efficiency, which restricts visibility, especially at night and in poor weather conditions. Regular headlight cleaning maintains the brightness and clarity of the headlights, ensuring maximum light transmission. This allows the driver to see the road better and respond more quickly to potential hazards.
Step-by-Step Car Headlight Cleaning Methods
Car headlight cleaning can significantly improve the appearance of your vehicle and enhance nighttime driving safety. Here are the step-by-step car headlight cleaning methods:
- Before starting headlight cleaning, clean the headlights and surrounding area of your car. This removes dirt and dust that could damage the headlights during the cleaning process. Gently clean the headlight surface using a car wash mitt and mild soapy water. Then, rinse the headlights with water and dry them with a microfiber cloth.
- If your headlights have severe yellowing or oxidation, sanding may be necessary. Use fine-grit sandpaper (e.g., 2000 or 2500 grit) to lightly sand the headlight surface in circular motions. This process removes the dull layer on the surface and helps achieve a smoother finish. It is essential to keep the headlight surface wet during the sanding process.
- After sanding, polish the headlight surface using a polishing compound and a soft cloth. This step removes fine scratches that may have occurred during sanding and restores the original shine of the headlight. Use circular motions for the polishing process and apply evenly across the entire headlight surface.
- After cleaning and polishing the headlights, apply a sealant or protective wax for long-lasting protection. These products help prevent the headlights from yellowing and oxidizing again. Follow the application instructions to apply the product evenly on the headlight surface and allow it to dry.
- After completing all the steps, check the condition of the headlights. If necessary, repeat the polishing or protection steps. You will notice that your headlights are now brighter and cleaner.
By following these steps, you can successfully complete the car headlight cleaning process. Regular maintenance and cleaning will keep your headlights looking new for longer and provide better visibility during nighttime driving.
How to Clean Yellowed Headlights?
Cleaning yellowed headlights can significantly improve your vehicle's aesthetics and nighttime visibility. Yellowing headlights are often the result of prolonged exposure to UV rays and external factors. To answer the question of how to clean yellowed headlights, first ensure the headlight surface is clean and dry. Start by gently cleaning the headlight surface with a wet car wash mitt. If the yellowing and dullness on the headlight surface persist, lightly sand the surface with fine-grit sandpaper. This process helps remove the oxidation layer on the surface. After sanding, polish the headlight surface with a microfiber cloth and polishing compound. Finally, apply a protective wax or sealant to keep the headlight clean and shiny for a long time.
DIY Headlight Cleaning Methods
Cleaning headlights at home is a cost-effective way to restore your car's headlights without professional help. Here are some methods you can try:
Toothpaste Cleaning: A method you can easily apply at home is using toothpaste. Toothpaste, with its mild abrasive properties, can help remove fine scratches and yellowing from the headlight surface. Squeeze a small amount of toothpaste onto a microfiber cloth and rub it on the headlight in circular motions. Then, rinse the headlight thoroughly with water and dry it.
Vinegar and Baking Soda: Vinegar and baking soda are two powerful cleaning agents commonly found at home. Mix these two ingredients in equal parts to form a paste. Apply the mixture to the headlight surface and let it sit for a few minutes. Then, gently scrub the surface with a brush or cloth and rinse with water.
Acetone or Alcohol: You can use acetone or isopropyl alcohol to remove stubborn dirt and sticky substances from the surface. However, remember that these chemicals can damage the headlight surface, so their use should be limited and cautious. Pour some acetone or alcohol onto a microfiber cloth and gently wipe the headlight. Finish by rinsing with water and drying the headlights.
Professional Headlight Cleaning Techniques
Professional headlight cleaning techniques typically provide more lasting results and are recommended for deep scratches or severe yellowing. Here are some professional methods:
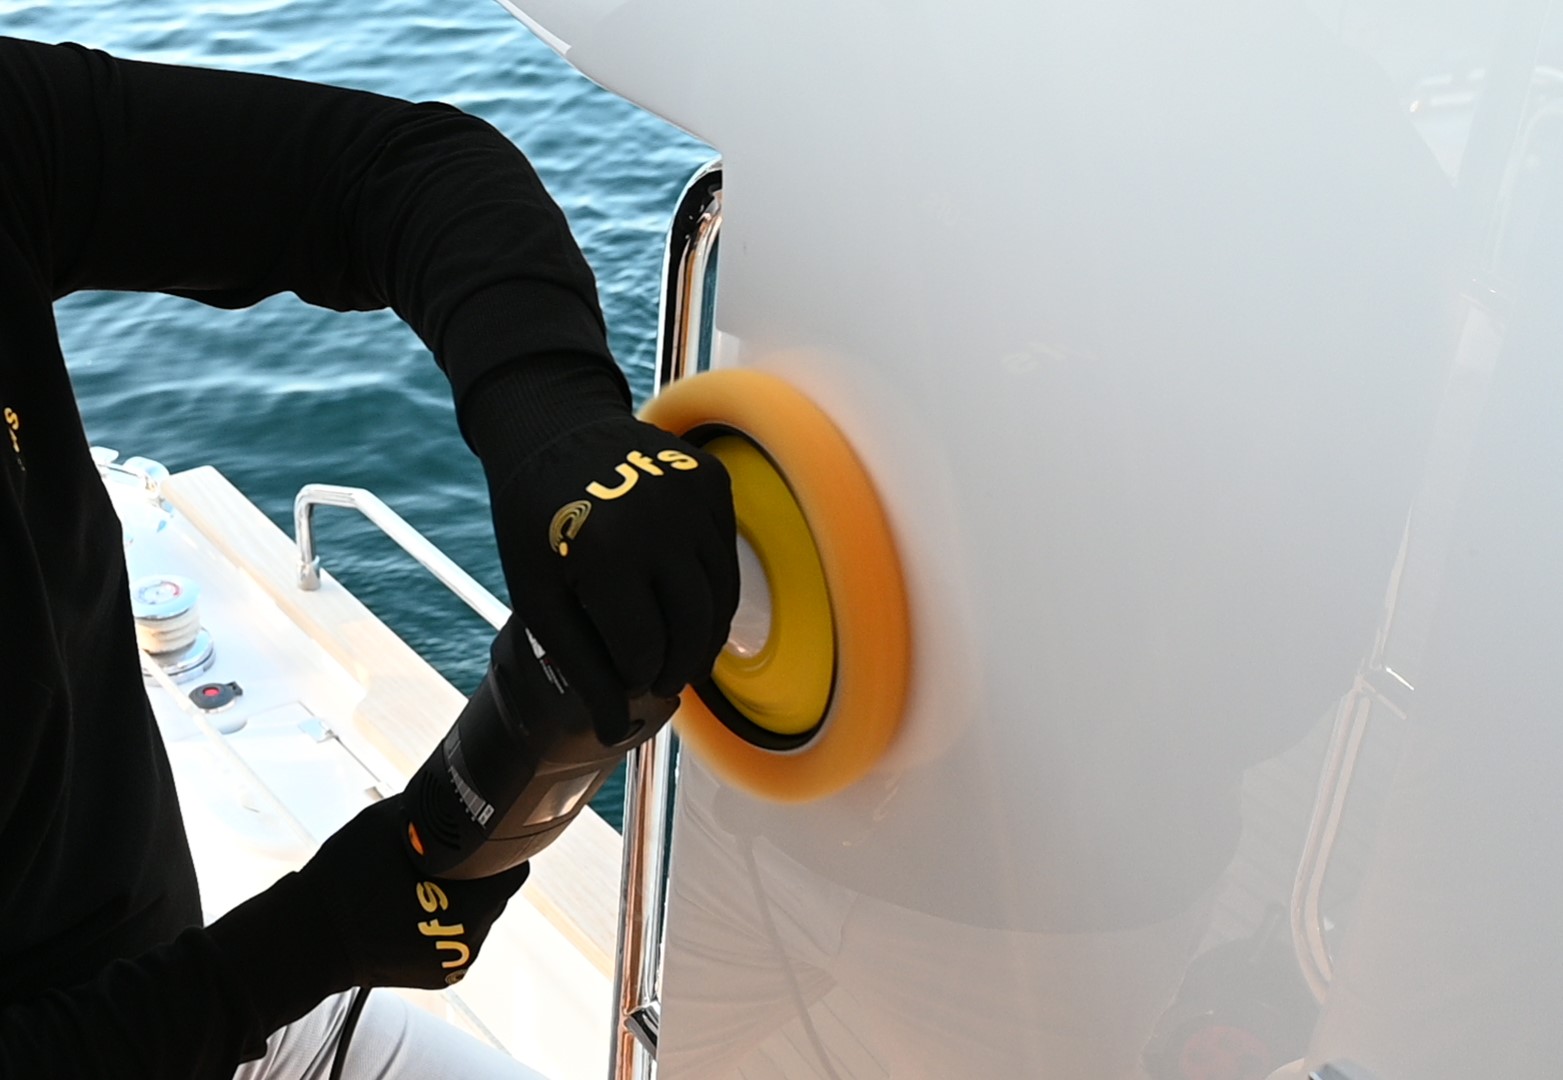
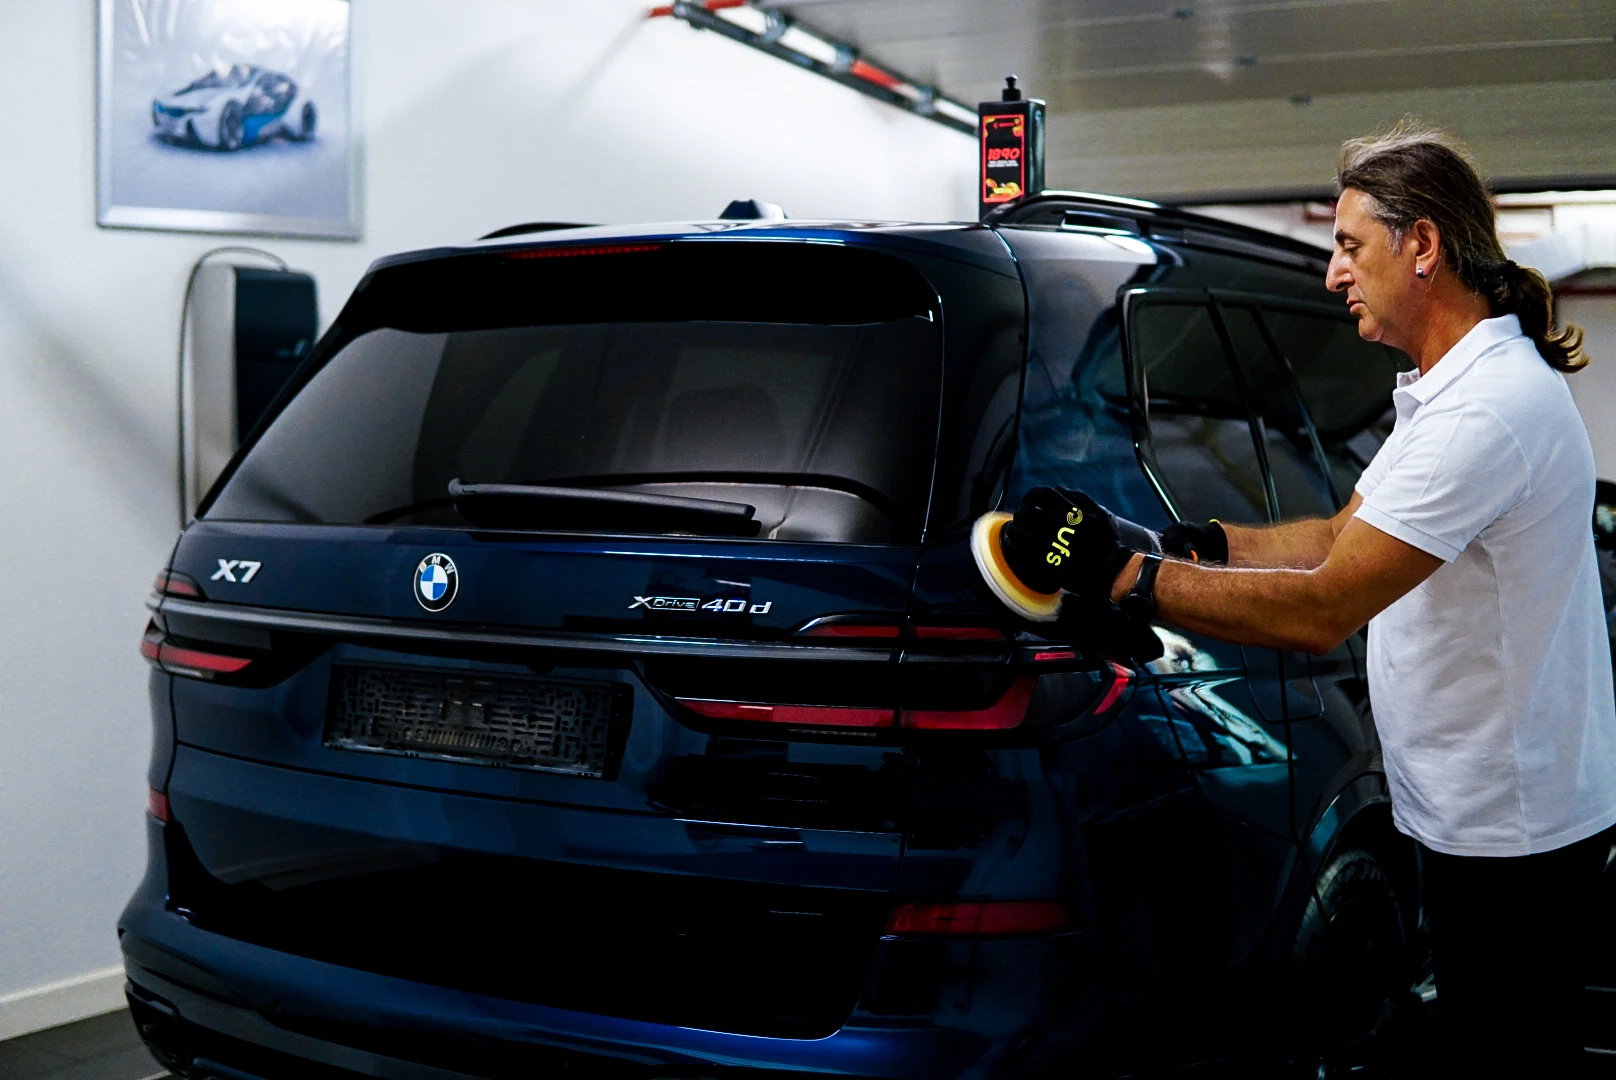
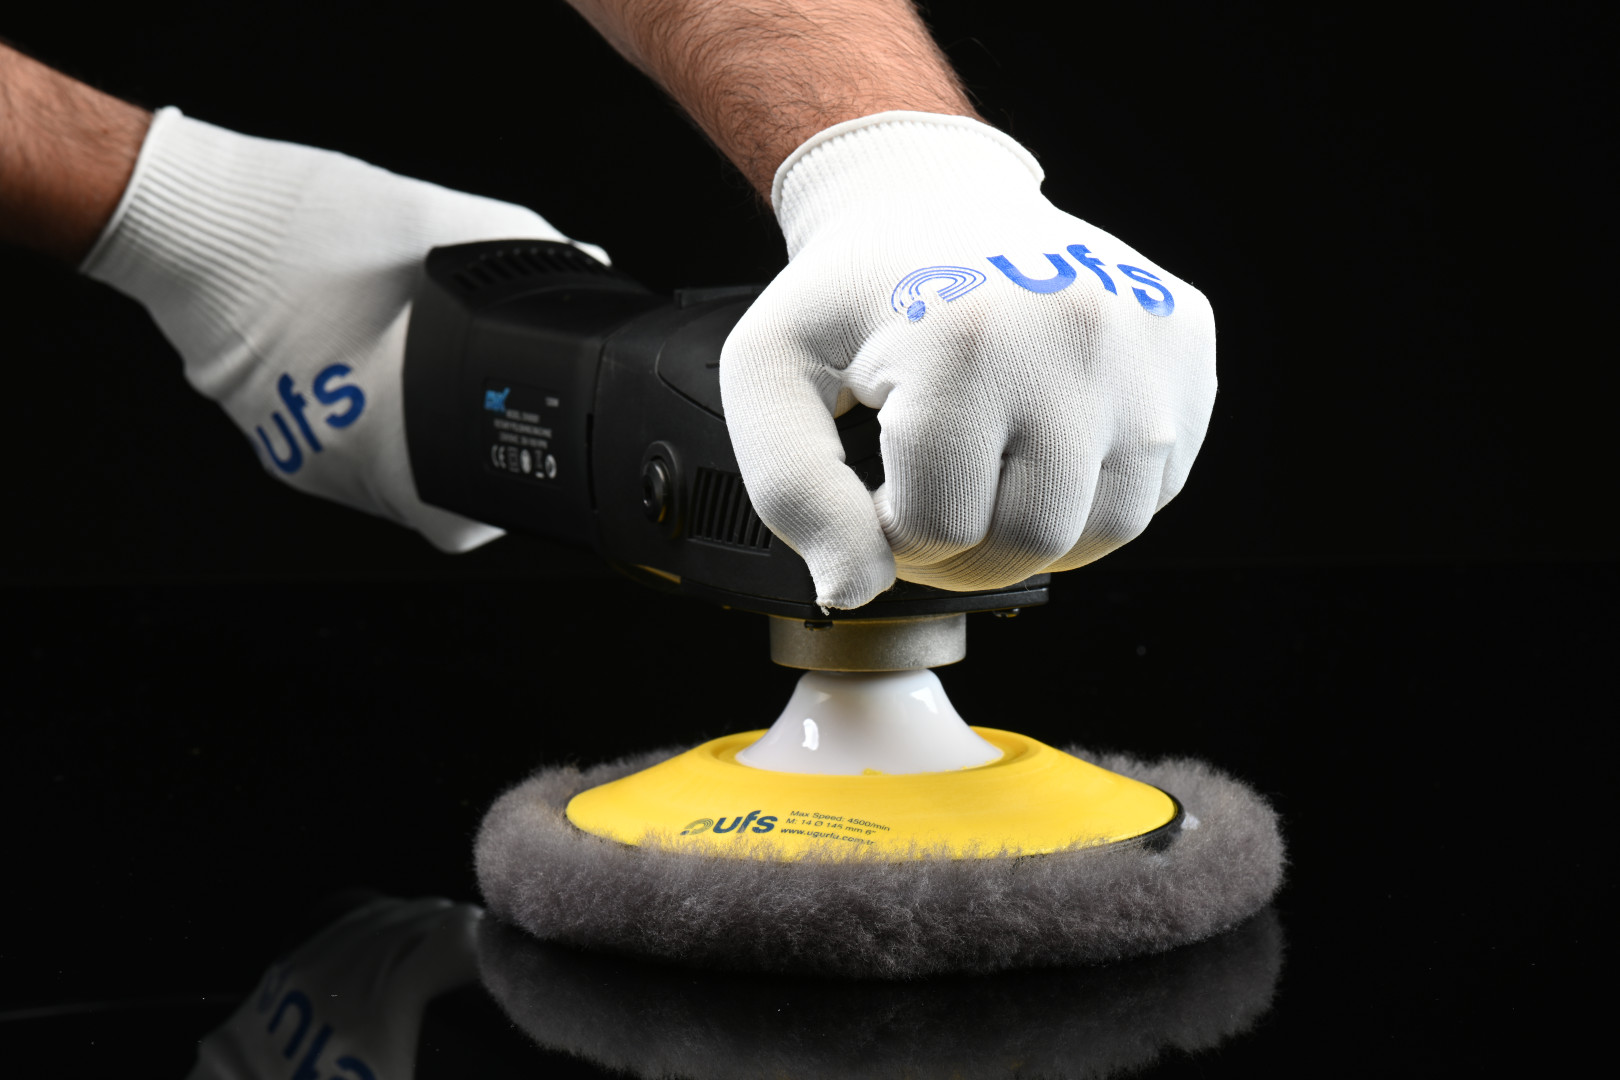
Wet Sanding and Polishing: This method involves sanding the headlight surface step-by-step using various grits of sandpaper, followed by polishing with a professional polishing machine. This process rejuvenates the headlight surface and restores its original shine.
UV Protective Coating: After cleaning and polishing, a UV protective coating can be applied to prevent the headlights from yellowing again. This coating protects the headlights against harmful UV rays and provides long-term protection.
Common Headlight Cleaning Mistakes and Solutions
Some mistakes made during headlight cleaning can damage the headlights or lead to undesirable results. Here are some common mistakes and their solutions:
- Sanding the headlight surface too much can cause scratches and thinning of the surface. As a solution, sand carefully and gently, stopping when sufficient.
- Some household cleaning products can damage headlight surfaces. As a solution, use the recommended products and materials for headlight cleaning.
- Failing to protect the headlights with a protective coating after the cleaning process can lead to yellowing again in a short time. As a solution, always apply a UV protective coating after the cleaning process.
Post-Cleaning Maintenance and Protection for Headlights
After headlight cleaning, regular maintenance and protection are important to preserve the results for a long time. Keeping the headlights clean regularly, immediately removing minor scratches and stains, and periodically renewing UV protective coatings will keep your headlights looking new. Additionally, avoiding direct sunlight exposure for your car can extend the lifespan of the headlights.

.JPG)
.JPG)